
Ah, the undeniable charm of houseplants—a haven where patience meets reward, and where cycles of life and renewal are at the forefront of your nurturing care. In your journey as a mindful plant parent, there comes a time when your plants need a change of scenery—literally. That time is often either fall or spring. But how do you know when your plants need repotting? And what's the proper way to do it? Let's delve into this crucial aspect of plant care.
Signs Your Plant is Ready for Repotting
Healthy Signs:
-
Outgrowing Current Pot: If the roots are circling around the bottom, or peeking out of the drainage holes, it's time for an upgrade.
-
Vigorous Growth: If your plant seems healthier and bigger than ever, it might be time to give it a new home to continue its growth journey.
-
New Shoots and Leaves: Frequent new growth often indicates a healthy plant that’s ready for a bigger environment.
Unhealthy Signs:
-
Stunted Growth:If the plant seems stuck in a growth limbo, it might be root-bound.
-
Root Rot: Foul-smelling soil or visible mold indicates a drainage problem—another reason for repotting.
-
Droopy or Yellow Leaves: Over time, soil becomes compacted, leading to poor drainage and less oxygen for the roots, causing the plant to look unhealthy.
Preparing for the Big Move
Tools You'll Need
-
New Pot
-
Fresh Potting Soil
-
Gardening Gloves
-
Pruning Shears
-
Trowel
-
Soil Additives & Plant Food
-
Repotting Mat or Outdoor Surface (where you don’t mind cleaning up a mess)
The Ideal Season
-
Spring: Perfect for most indoor plants, as it gives them a full growing season to adapt before winter.
-
Fall: Ideal for some outdoor perennials that go dormant in winter, allowing them to wake up fresh in a new pot come spring. This is also the best time to re-pot any new- to- you plants, giving them a cozy new home and room for their roots over-winter. Be mindful that the sooner you repot, the better your plant will do as they need time to acclimate before heading into the dormant season.

Repotting Steps for Renewal and Growth
Step 1: Remove the Plant
Water your plant lightly a day before repotting. This makes it easier to remove the plant from its current pot. Turn the pot sideways, hold the plant gently by its stems, and tap the bottom of the pot to slide it out.
Step 2: Inspect and Prune
Now's the time to get up close and personal with your plant. Inspect the root ball. Trim away any rotted or dead roots and make a couple of vertical cuts if the plant is root-bound. Loosen the root ball and remove the old potting soil.
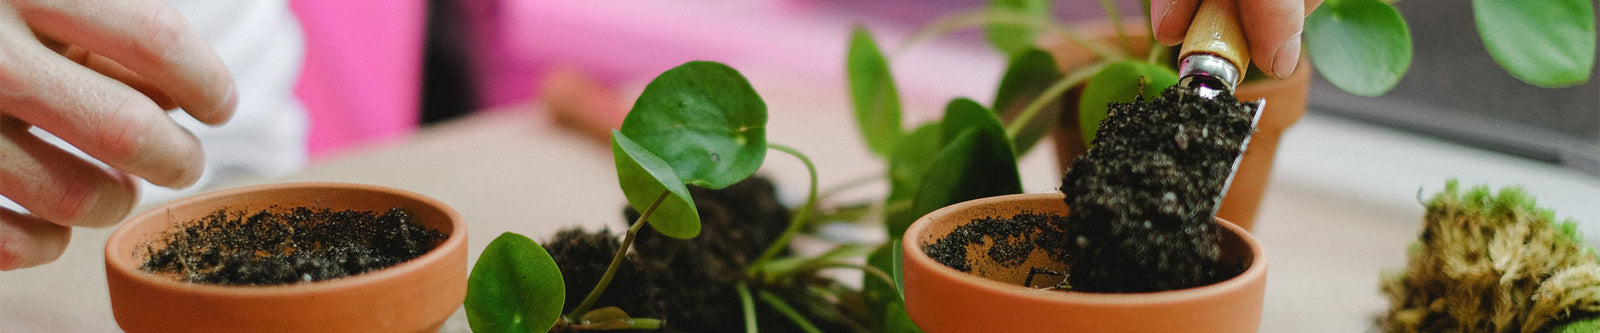
Step 3: Prepare the New Pot
Make sure your new pot has drainage holes. Layer the bottom with a small amount of fresh potting soil mixed with biochar, which will give the roots structure and hold water. Add a root inoculate at this stage to build up the natural biome of the soil and boost its ability to retain nutrients.
Step 4: Position the Plant
Place your plant into the new pot. Ensure it's centered and sitting at the correct height. The top of the root ball should be just below the rim of the pot.
Step 5: Add Soil and Water
Fill in the gaps around the plant with more fresh potting soil, soil inoculant, and biochar. Press down gently to eliminate air pockets. Water thoroughly to help the plant settle in.
Step 6: Monitor and Care
Place the newly potted plant in an area with appropriate light and temperature for the species. Continue to water and feed as needed.
A Few Extra Tips
-
Nutrient Boost: After repotting, regularly treat your plant with a balanced fertilizer to encourage new growth.
-
Pot Size: Choose a new pot that's the same or 1-2 inches larger in diameter than the old one depending on your plant goals. Moving up too big can lead to overwatering issues. Sometimes your plant baby just needs a refresh and will be just fine in its original pot. We highly recommend refreshing the soil if the plant is coming from a big box store.
-
Water Wisely: Overwatering right after repotting can lead to root rot. Water thoroughly but be careful not to overwater.